
One of my favorite projects for 2022 was up-cycling a calendar that arrived in the mail, unsolicited, from a charity. It was not particularly beautiful, but it was free, so I hit on the idea of using each of the 12 existing calendar photos as a background and painting, gluing, or collaging my own creations over them.
When the package of new goodies from Gwen Lafluer landed at my doorstep, I thought it would be fun to use some of her new PaperArtsy stamps from set EGL31, along with her gorgeous new embossing powders from WOW, to start on my 2023 calendar.
Here's my worktable as I was about to start testing all the stamps with black Archival ink in my art journal.

I
also tested the embossing powder (EP) with a couple of my older favorite stamps to see how the colors looked.

And then I wondered...hmmm, how would the stamps and embossing powders look on black? (I felt like a bit of a mad scientist!)
I randomly stamped the geometric tile-inspired designs on black paper using VersaMark embossing ink. Next, I sprinkled the whole page with Tarnished Brass, shook off the excess, and heated it. It looked a little dark in powder form, but the minute I blasted it with my heat gun, magic happened: the color lightened and brightened, and the lines reproduced clearly. Like the manufacturer's name, the look WOWed me.
 |
| From
left to right: embossing powder covering the page; images before heat
was applied; the page with applications of tarnished brass and Chinese
lantern. |
I used Vintage Turquoise EP for the small star stamps, and also Chinese Lantern EP with the 12 small circles stamp on the black paper. Although the EP colors looked much different on black than on white, the resulting shades of blueish gold and reddish gold gave depth to the piece.
 |
| Here you can see the process of applying the different stamps with assorted embossing powders until nearly all the solid black areas were covered. |
While the shades of gold and the stamp details were gorgeous on the black page, I knew I needed a central focus. I tested several companion elements: shipping tags stenciled with gold molding paste, a circular artist trading coin with the cyrillic writing stamp on a silver disc, and several stamps on black with the Tarnished Brass EP. I played around with the arrangement of the various elements until I was happy, then glued it all in place.
 |
| I debated whether to use the cyrillic alphabet tag or my
own Tossed Poppies stencil on my up-cycled February calendar page. |
 |
| This
arrangement of the tossed poppies tag with the embossed pieces looked okay, but I
liked the final choice, a symmetrical arrangement, more. |
Here's a couple close-ups of the final calendar page. I used a tag made with my Tossed Poppies pattern, which nicely compliments Gwen's new stencils. This became my February calendar page...I had already started a January page but put it aside once I started embossing on the black background!
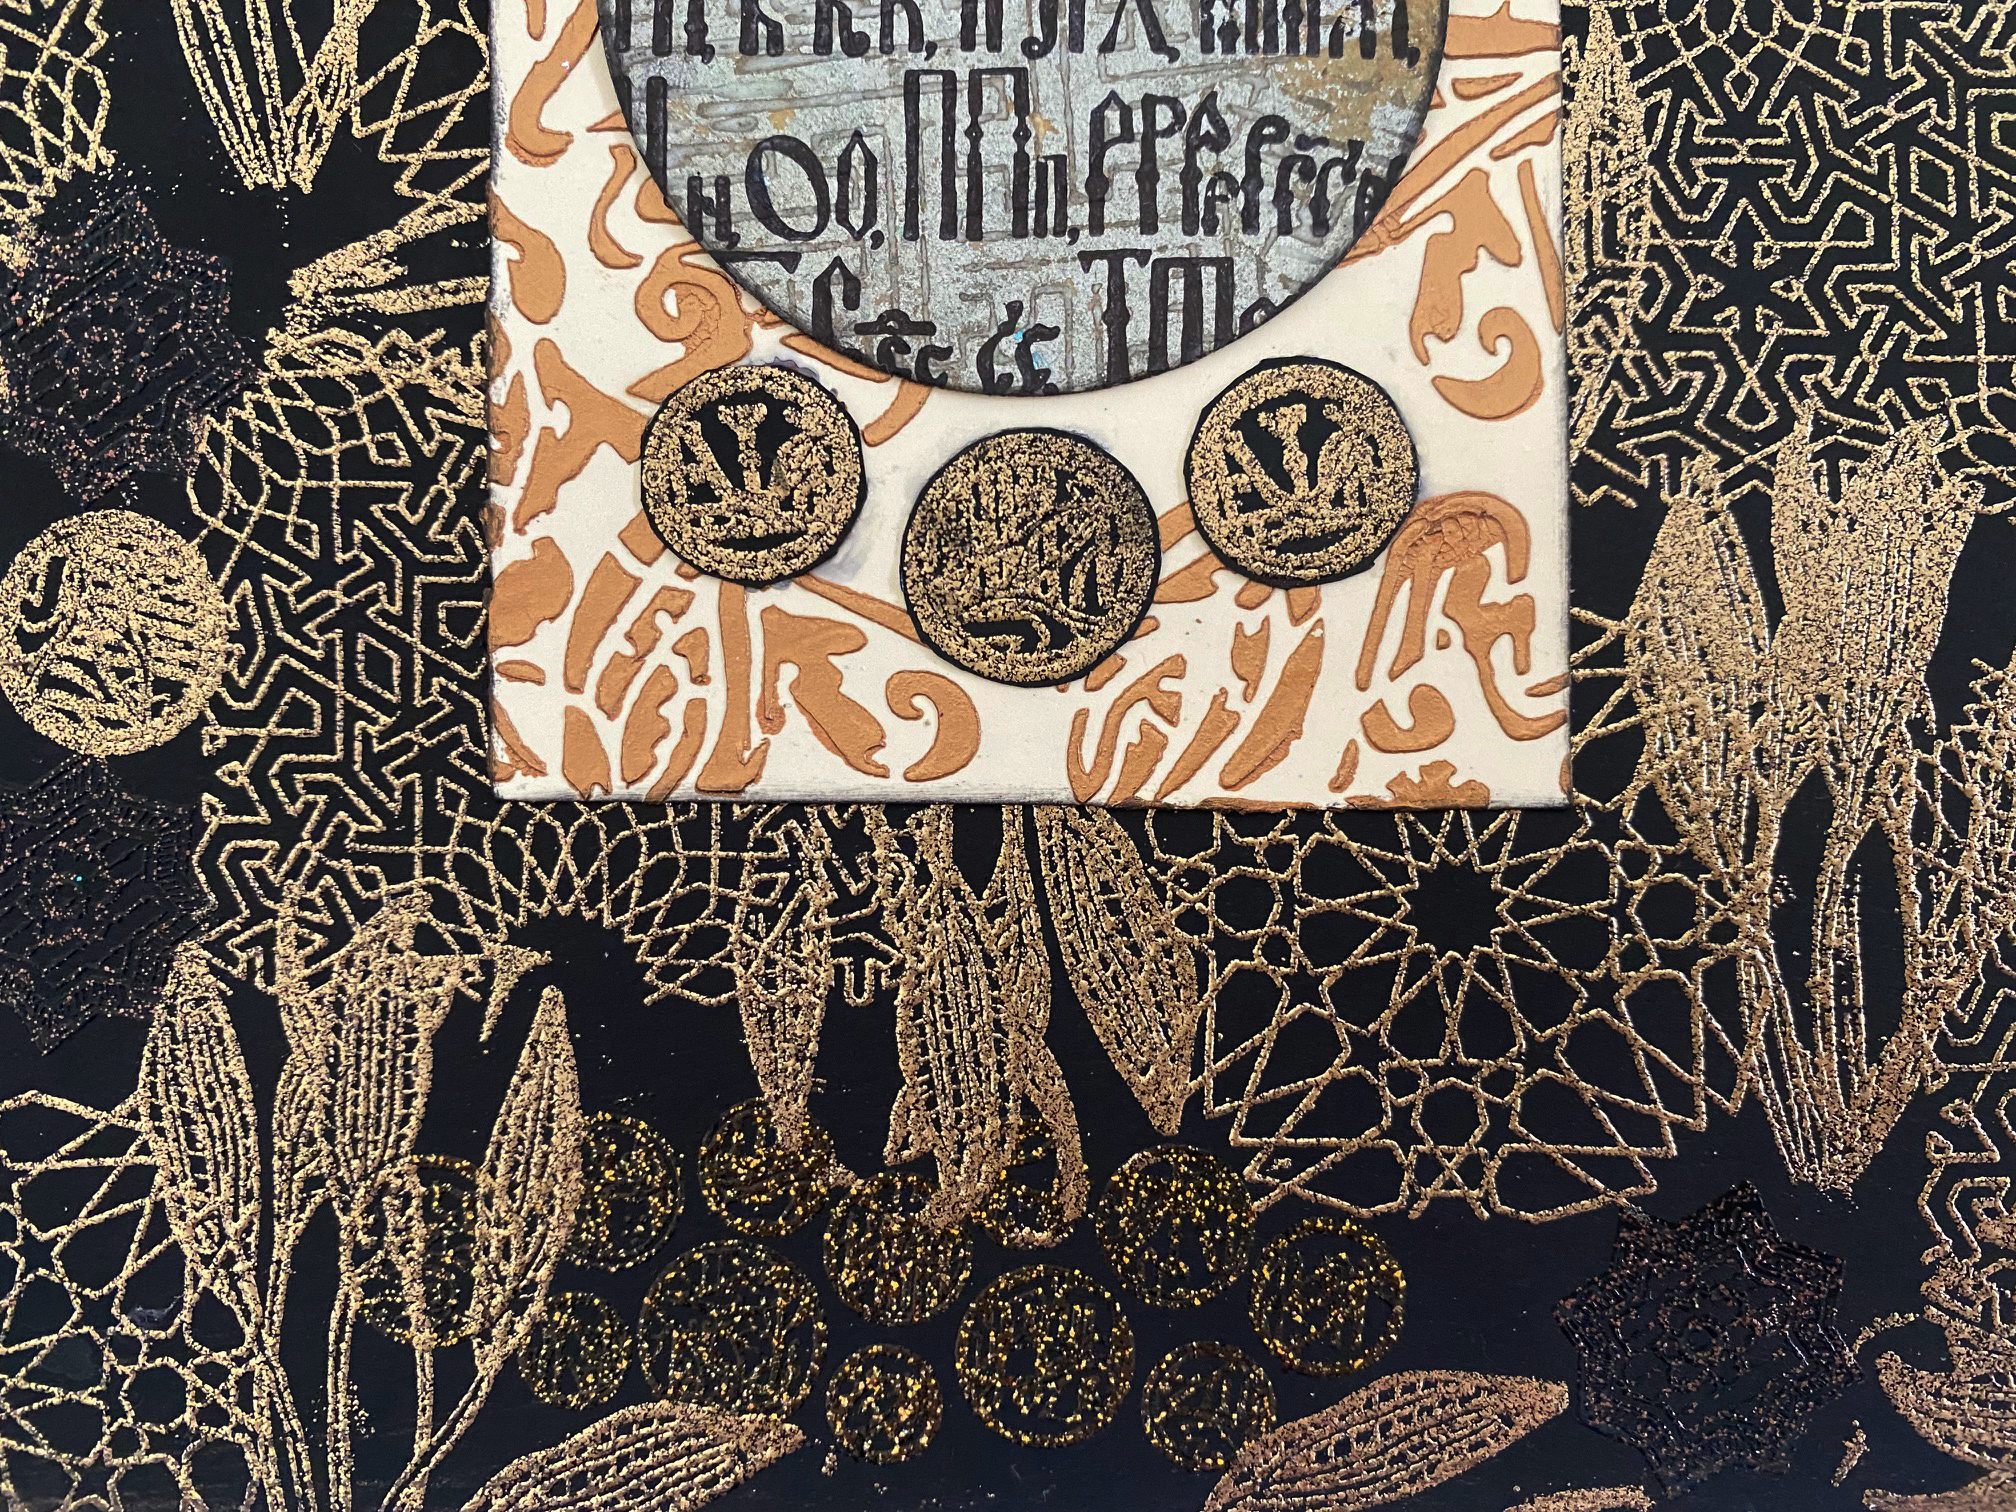

Once February was finished, I revisited the January page. I really wanted to use the background I had started, which incorporated a silver foil paper that my friend Kimberlee gifted me with. The cyrillic alphabet stencil was still calling to me, so I used it with black ink over the silver paper.
 |
| I used Gwen's cyrillic alphabet stencil with black Archival ink over the silver foil background. |
 |
| I tried out some pieces from the September Boho Vibes StencilClub set on the silver cyrillic alphabet background. Peeking out on the middle left is the pink circle stamped with the seaweed leaves, that I later added more color to and turned into a mermaid crown. |
 |
| I tried the tag (which had been changed to have the color of clear, clean ocean water) horizontally with the fish and some seaweed to create an underwater mood. |
With a tag I had already prepared (it was made with the
cyrillic alphabet and gold modeling paste) I added a beautiful blue
salvaged patina distress ink background.
Sometimes inspiration hits when you least expect it: I was killing time waiting for my computer to warm up and started adding color to a stamped artist trading coin. It was the leafy seaweed stamp on a pink paper. I used some beautiful ShinHan watercolors that Gwen sells in her shop to bring out the details and add depth. When I was finished puttering, I thought, "this would make a beautiful mermaid crown!" I rummaged around in my stash and found a pretty face (a downloadable image from ArtTeaLife) to use for my mermaid. I used some of the ShinHan watercolor to add a neck, ears, and some extra color to the face.
I had already made an artist trading coin by stamping the fish on a blue and yellow painted circle using black ink, so I included that also.

Used together, the fish circle and the small cyrillic writing stamped on silver paper circle made a vague body for the mermaid. Finally, I fussycut some of the small stars that I had stamped on black paper with VersaMark ink and embossed with the new Tarnished Brass WOW embossing powder, and tossed them on the page to add magic.
The look was totally quirky, a little weird, and totally me!
Here's a closeup of the mermaid:

Gwen's online store is closed right now because she's traveling in India,but she'll have the stamps and embossing powders in her store mid-November...or, while she's closed, you can support one of your favorite independent art supply stores.